Brush Logo Placement: Check Orientation in the Customer’s Hands
Review custom branding as part of the real brush format, including grip, packing and small print areas.
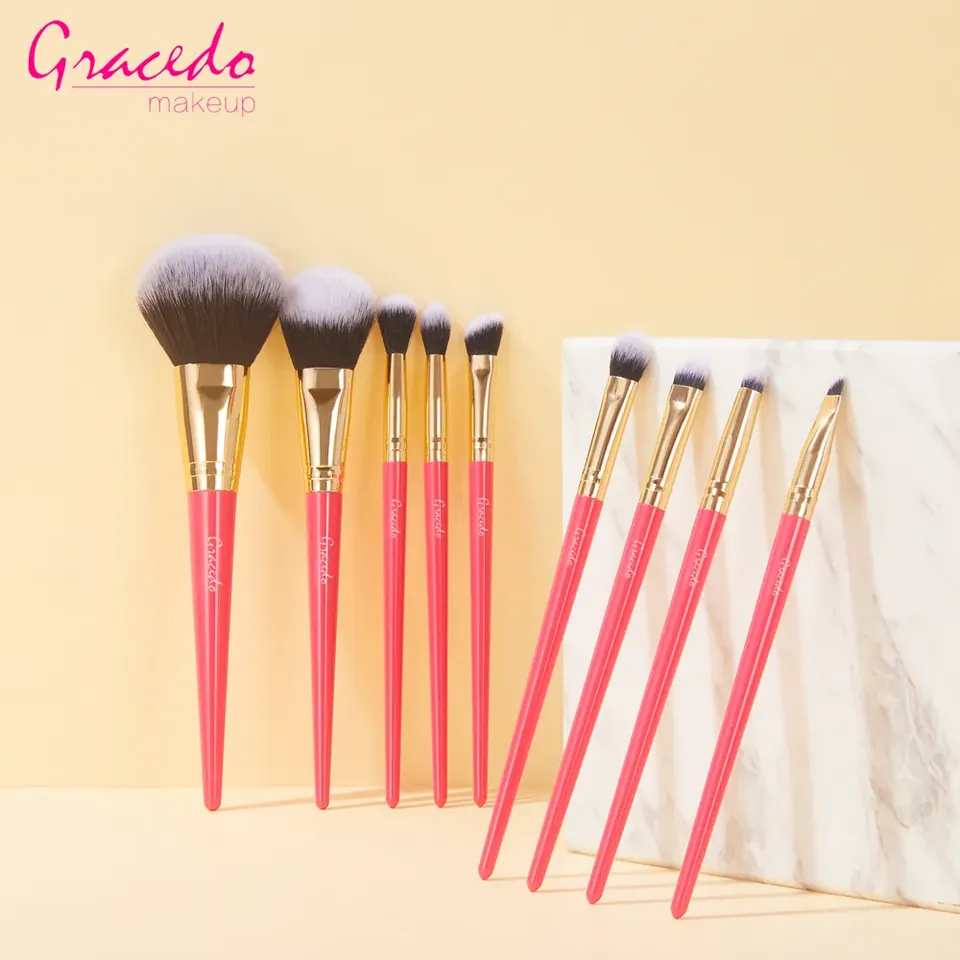
Ask for the actual decoration space
Request a drawing of the handle’s available print area with its dimensions and orientation. Identify any taper or surface feature that limits placement. Provide the intended artwork and ask which details are represented by the proposed proof. Keep each handle size separately referenced so a layout approved on a large brush is not automatically applied to a smaller one.
Review the mark in context
Inspect a physical decorated sample at normal viewing distance. Check how the logo appears when the brush is held, placed in a case and shown in product photographs. If the design includes a role name, confirm that it remains legible. Keep artwork evaluation separate from the working head’s approval so the team can resolve a decoration issue without obscuring the functional selection.
Store the final relationship
Link the approved file, print position, color reference and handle specification. If the handle finish or dimensions change, ask whether another proof is required. Keep superseded artwork away from active production files. A clear placement record helps suppliers and internal teams maintain a recognizable presentation without relying on a screenshot that may not show the final construction or scale.
Buyer checklist
- Measure the print area on every handle.
- Check orientation during real handling and packing.
- Link artwork files to the selected handle version.
Our guides use documented product information and editorial research. Hands-on testing is stated only where it has actually been performed. How we work
You may also find useful
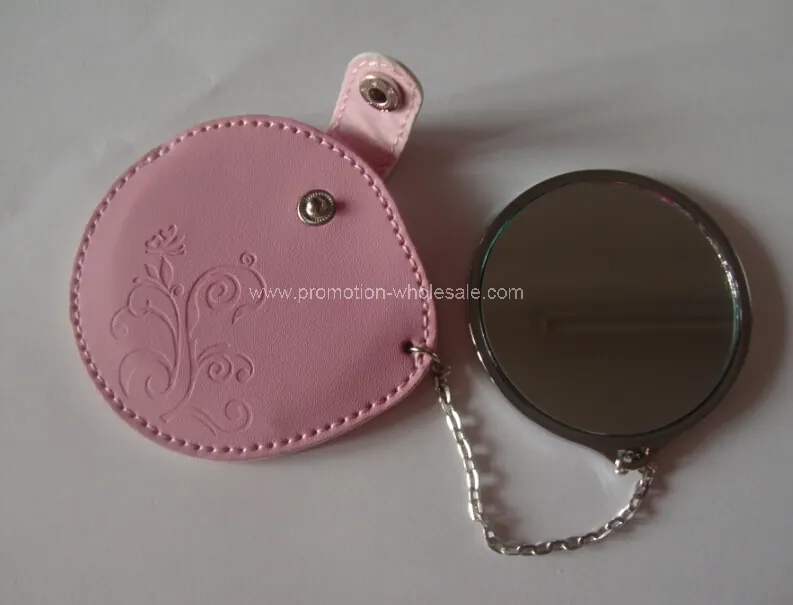
New Leather Pocket Cosmetic Mirror: a buyer’s assessment
An editorial assessment of New Leather Pocket Cosmetic Mirror, with practical questions about specifications, customisation and project fit.

Multifunctional Folding Comb with Mirror: a buyer’s assessment
An editorial assessment of Multifunctional Folding Comb with Mirror, with practical questions about specifications, customisation and project fit.
Custom Brush MOQs: Ask Which Choice Sets the Minimum
Understand quotation assumptions at component and variant level before committing to a custom brush order.
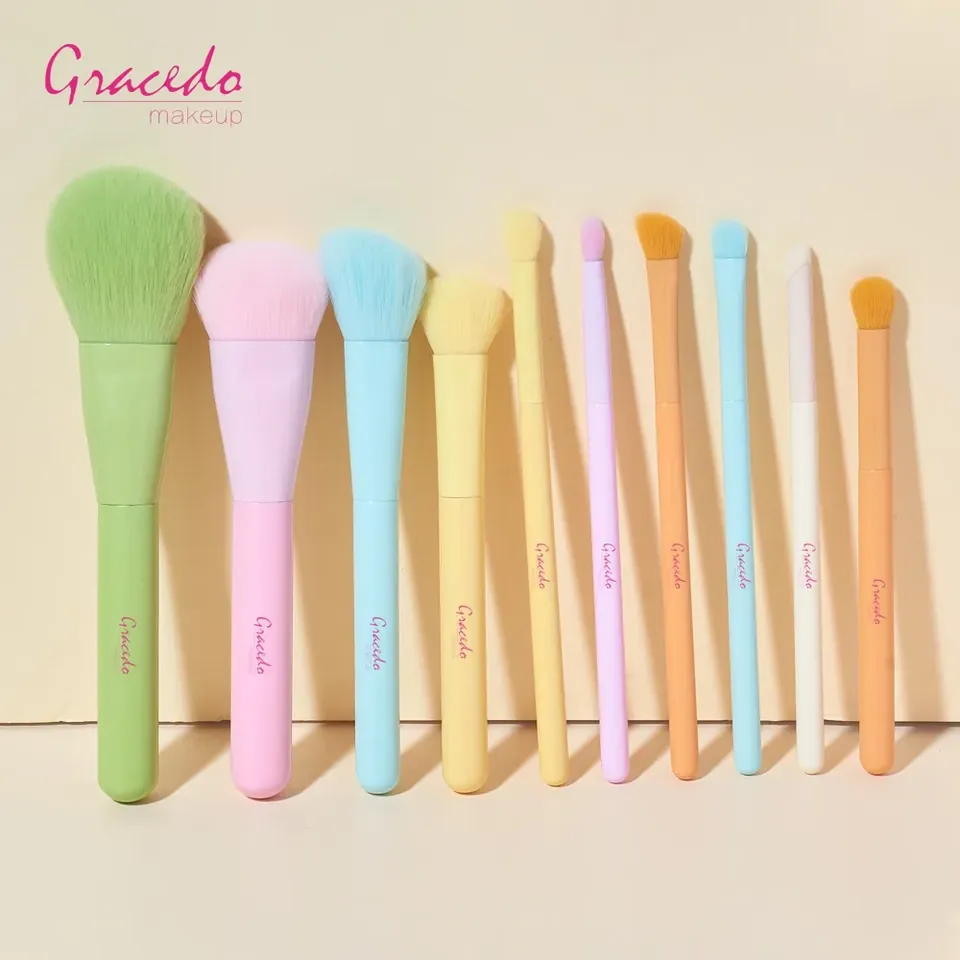
Use Supplier Design Support to Resolve Brush Tradeoffs
Technical support is most valuable when it helps a buyer decide between specific alternatives. A broad request for an innovative brush gives little direction.
Comments
No comments yet. Add a useful question or share your perspective.